[Node.js] Node.js + Express + Sequelize + MySQL 라우터 및 컨트롤러 설정 방법
해당 게시물의 내용은 아래 링크의 내용과 깊게 연관되어 있습니다.
해당 게시물을 읽기 전에 아래 링크를 먼저 참고해주세요.
[Node.js] Node.js + Express + Sequelize + MySQL 프로젝트 세팅 방법
해당 게시물은 Node.js 와 MySQL이 설치된 환경을 가정합니다. Node.js — Run JavaScript EverywhereNode.js® is a JavaScript runtime built on Chrome's V8 JavaScript engine.nodejs.org MySQLOver 2000 ISVs, OEMs, and VARs rely on MySQL a
sooncoding.tistory.com
최종 템플릿
GitHub - LDK1009/template-node.js-express: API 서버 개발을 위한 템플릿입니다.
API 서버 개발을 위한 템플릿입니다. Contribute to LDK1009/template-node.js-express development by creating an account on GitHub.
github.com
들어가기
해당 내용은 Node.js, Express, Sequelize이 설치된 환경을 가정합니다.
이전에 Node.js + Express + Sequelize + MySQL 프로젝트 세팅을 마쳤다.
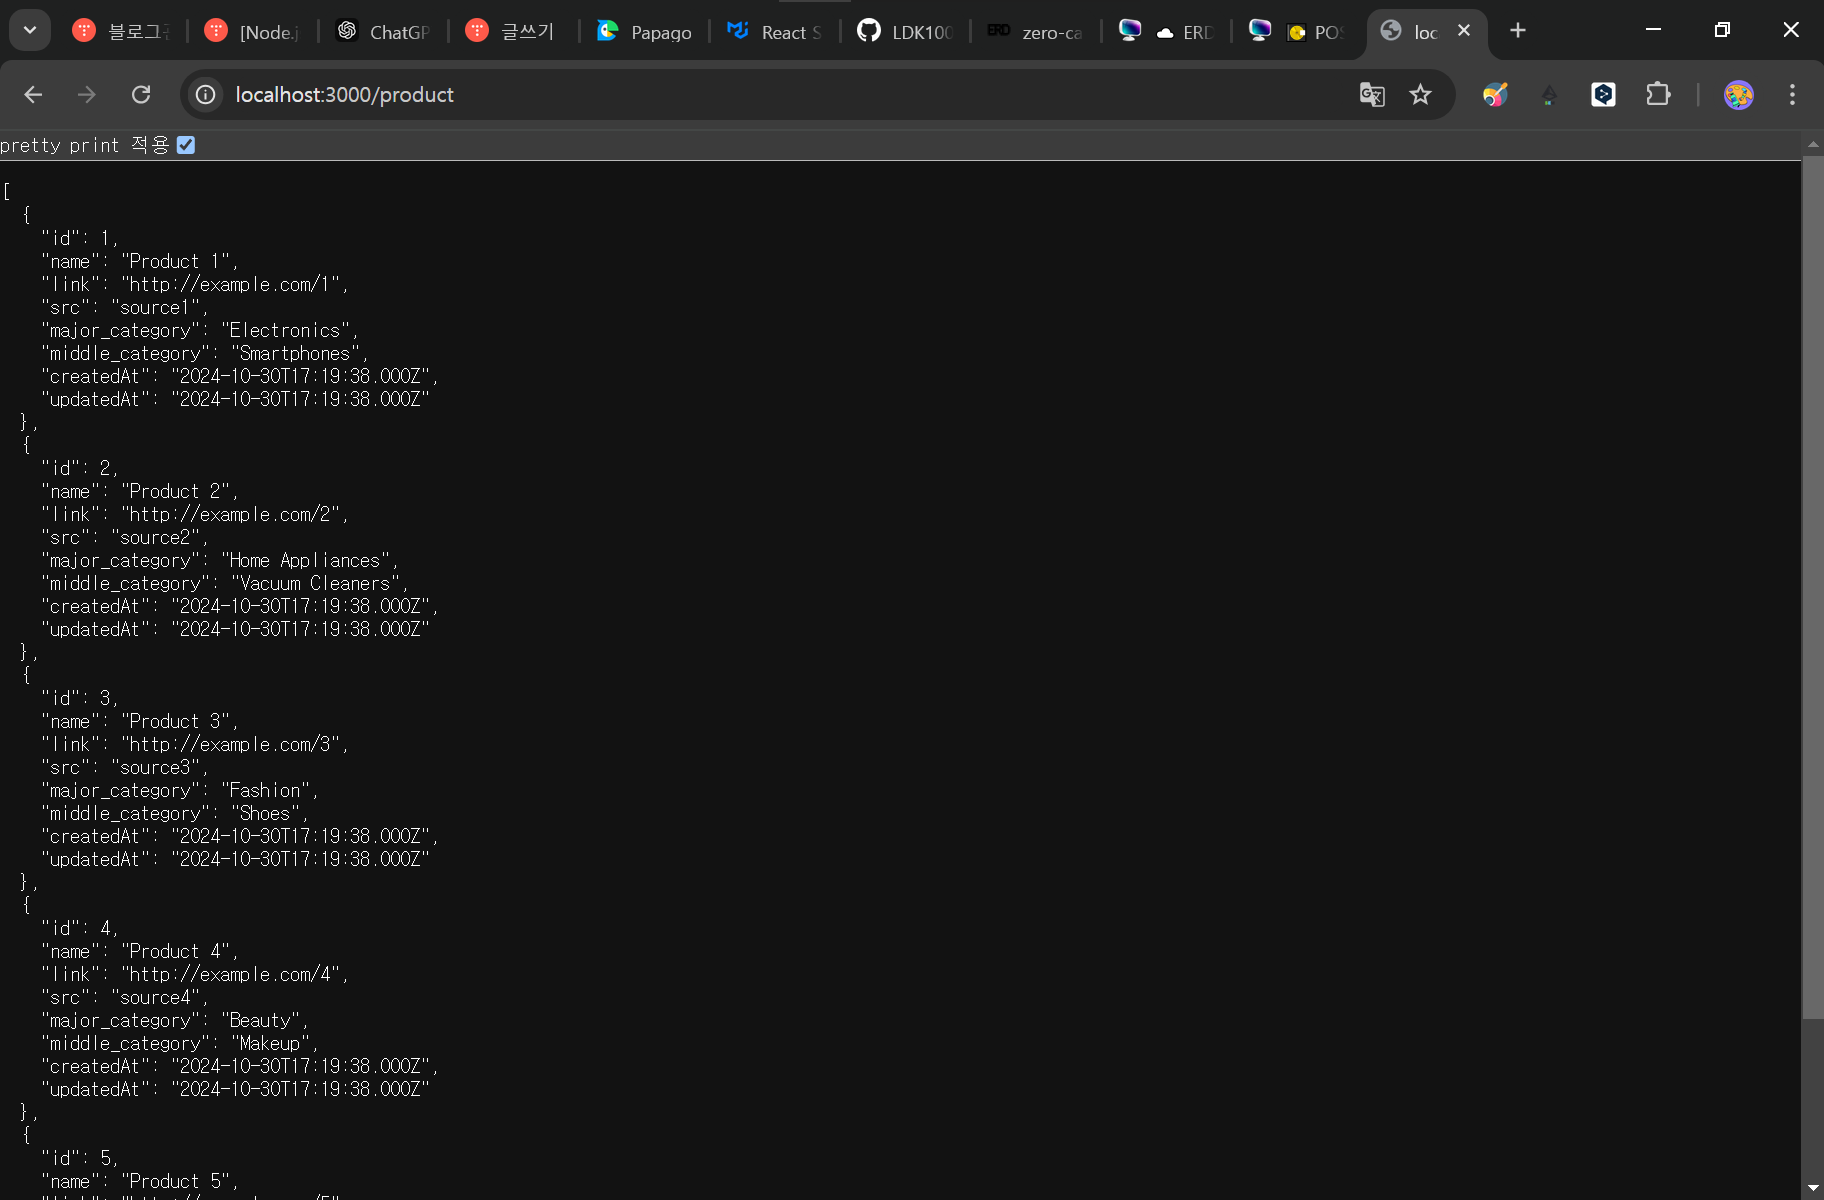
이번에는 라우터 및 컨트롤러를 설정하여 최종적으로 localhost:3000/product 접속 시 DB의 products 테이블 내의 모든 데이터를 제공할 것이다.
1. 컨트롤러 설정

const { Products } = require('../models');  // User 대신 Products 모델을 불러옴

// Get all products
exports.getAllProducts = async (req, res) => {
  try {
    const products = await Products.findAll();  // 모든 제품 가져오기
    res.status(200).json(products);
  } catch (error) {
    res.status(500).json({ error: error.message });
  }
};
프로젝트 폴더에 controllers 폴더를 생성하고 하위에 productController.js 파일을 생성한다. (controllers/productController.js)
productController.js에 위 코드를 복붙한다.
sequelize를 활용한 CRUD는 GPT에 'node.js + express + sequeliize 를 활용한 CRUD 코드 제공해줘' 라고 입력해보세요.
컨트롤러 설정 끝.
2. 라우터 설정
const express = require('express');
const router = express.Router();
const productController = require('../controllers/productController');

// Get all users
router.get('/', productController.getAllProducts);

module.exports = router;
프로젝트 폴더에 routes 폴더를 생성하고 하위에 product.js 파일을 생성한다. (routes/product.js)
product.js에 위 코드를 복붙한다.
const express = require('express');
const router = express.Router();

// 여기서 다른 라우터 파일들을 불러옵니다.
const productRoutes = require('./product'); // products 관련 라우터

// 라우터를 설정합니다.
router.use('/product', productRoutes);

// 다른 엔드포인트들도 여기에 추가할 수 있습니다.
// ex)
// const userRoutes = require('./user');
// router.use('/users', userRoutes);

module.exports = router;
routes/index.js 를 생성하고 위 코드를 복붙한다.
위 코드를 통해 모든 라우터를 중앙에서 관리할 수 있다.
const express = require('express');
const { sequelize } = require('./models');
const dotenv = require('dotenv');
dotenv.config();
const routes = require('./routes'); // routes/index.js를 불러옴 ////////


const app = express();
app.use(express.json());

// API 라우트를 설정합니다.
app.use('/', routes); ////////

// API Route
const PORT = process.env.PORT || 3000;

sequelize.sync()
  .then(() => {
    console.log('Database connected!');
    app.listen(PORT, () => {
      console.log(`Server is running on port ${PORT}`);
    });
  })
  .catch(err => console.log('Error: ' + err));
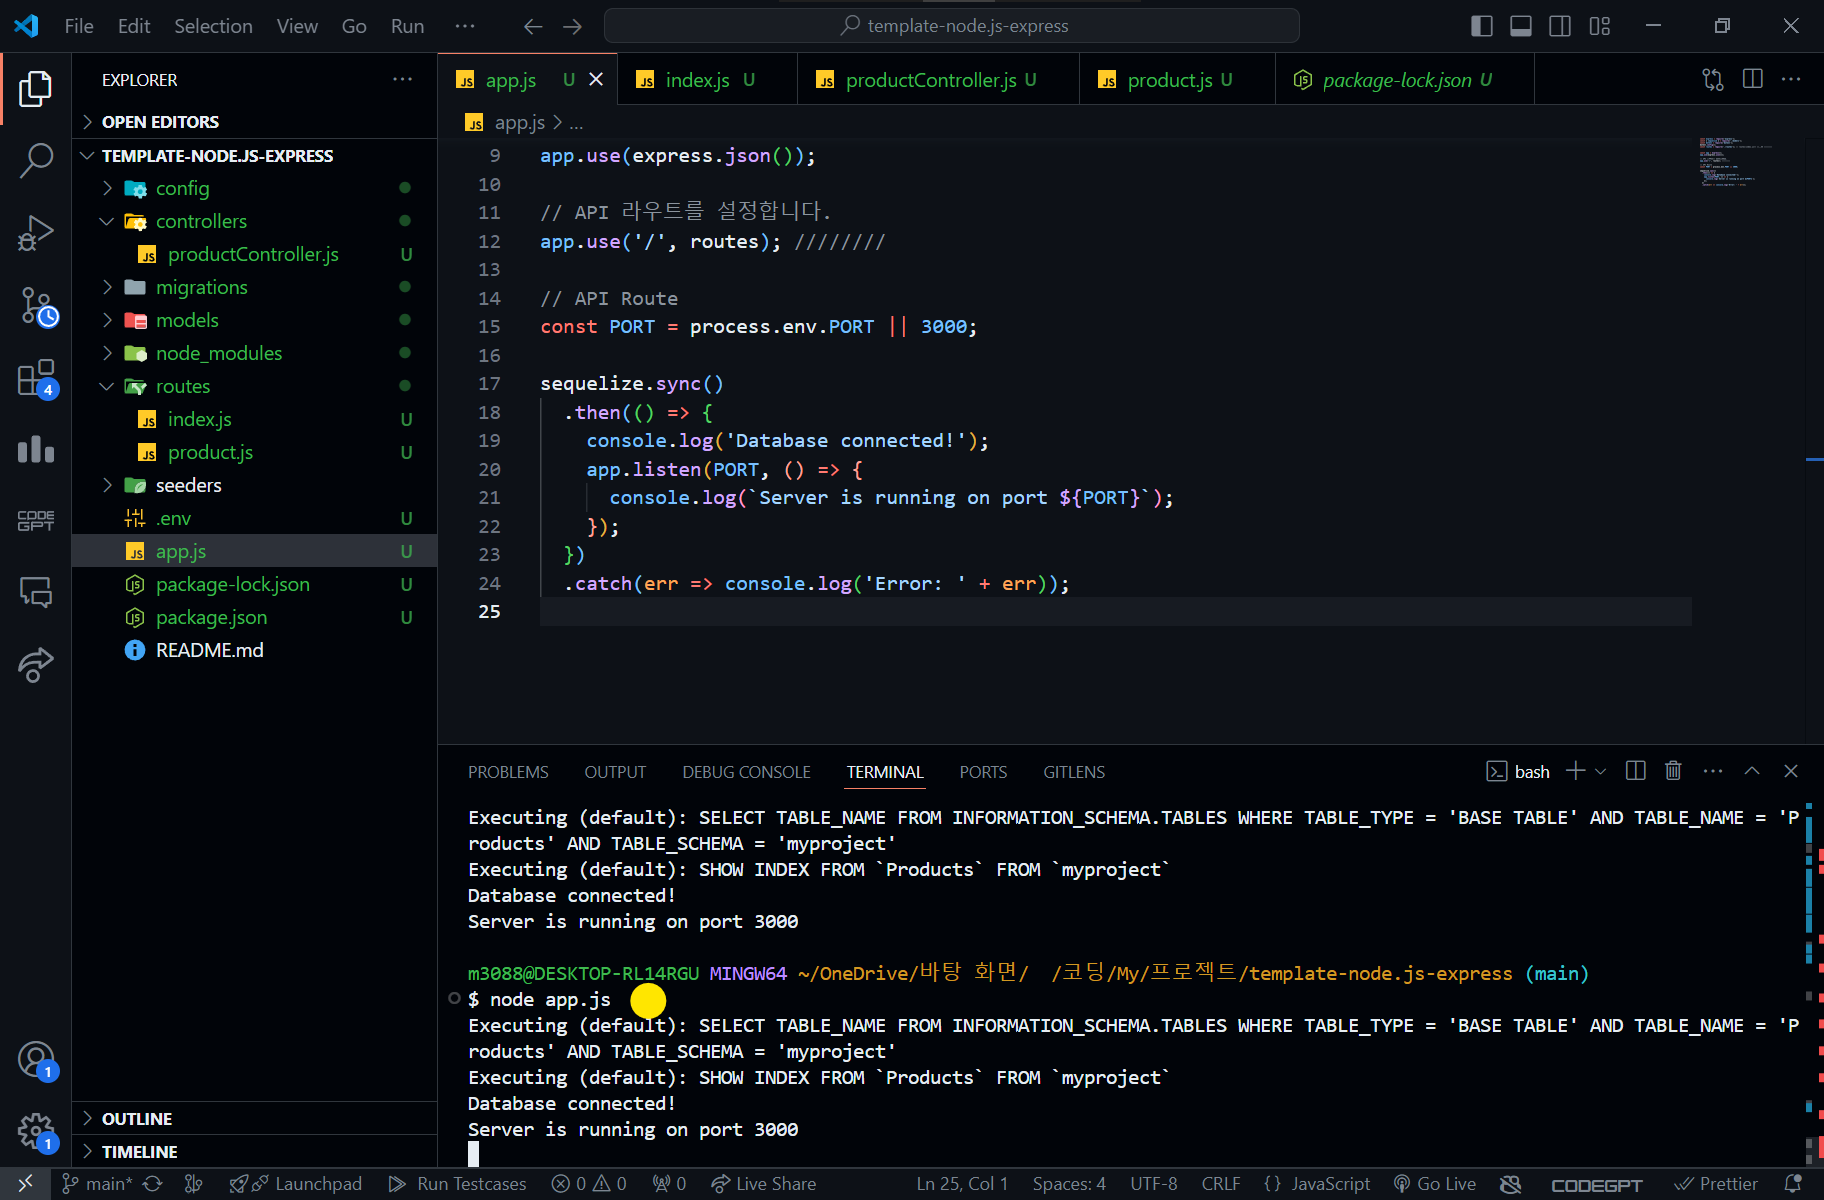
app.js를 위와 같이 변경하여 다.
변경된 코드 우측에 /////를 추가해놨으니 참고하세요.
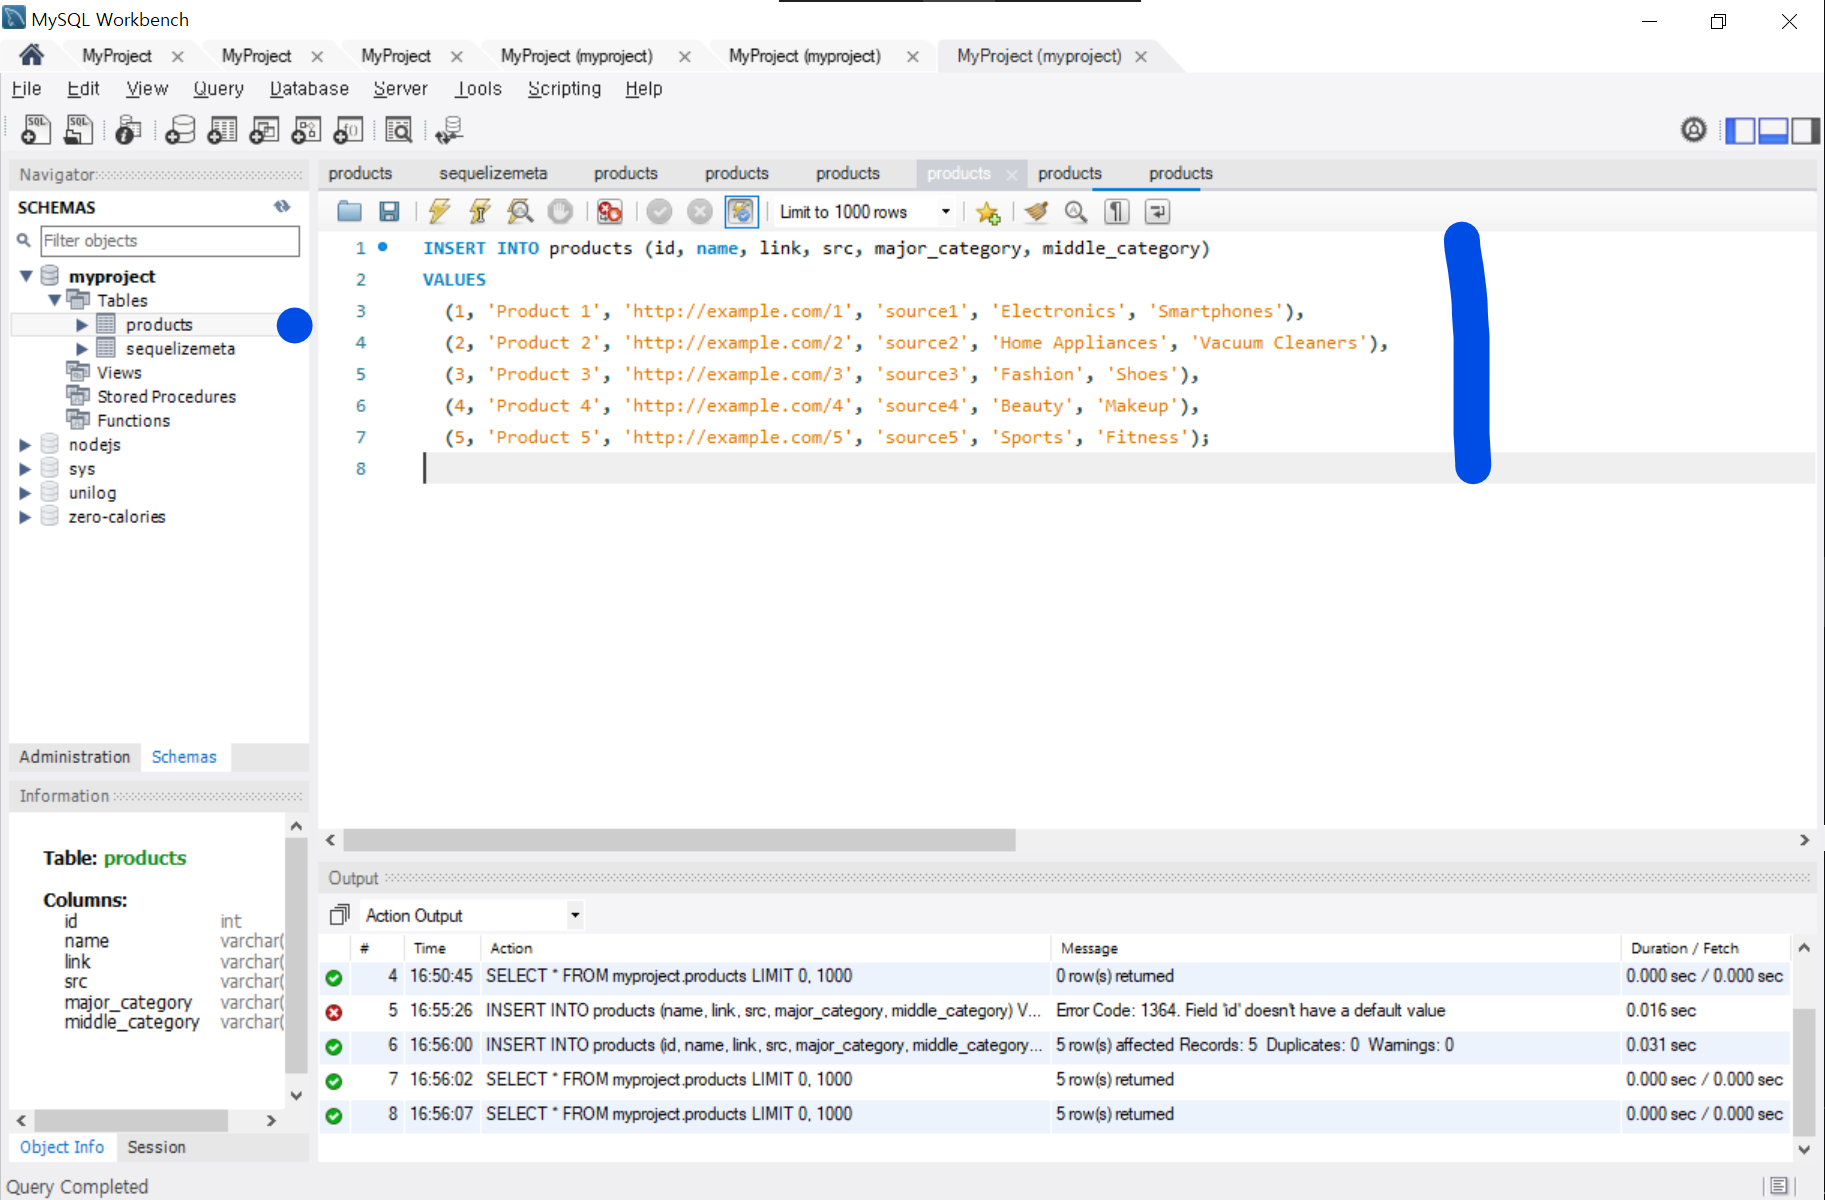
3. 더미 데이터 추가

INSERT INTO products (id, name, link, src, major_category, middle_category)
VALUES
  (1, 'Product 1', 'http://example.com/1', 'source1', 'Electronics', 'Smartphones'),
  (2, 'Product 2', 'http://example.com/2', 'source2', 'Home Appliances', 'Vacuum Cleaners'),
  (3, 'Product 3', 'http://example.com/3', 'source3', 'Fashion', 'Shoes'),
  (4, 'Product 4', 'http://example.com/4', 'source4', 'Beauty', 'Makeup'),
  (5, 'Product 5', 'http://example.com/5', 'source5', 'Sports', 'Fitness');
SQL문을 통해 예시 데이터를 생성합니다.
4. 서버 실행


node app.js서버를 실행시킨뒤 주소창에 http://localhost:3000/product 을 입력해 접속하면 서버가 DB에 있는 데이터를 전달해준다.
추가

'use strict';
const {
  Model
} = require('sequelize');
module.exports = (sequelize, DataTypes) => {
  class Products extends Model {
    /**
     * Helper method for defining associations.
     * This method is not a part of Sequelize lifecycle.
     * The `models/index` file will call this method automatically.
     */
    static associate(models) {
      // define association here
    }
  }
  Products.init({
    name: DataTypes.STRING,
    link: DataTypes.STRING,
    src: DataTypes.STRING,
    major_category: DataTypes.STRING,
    middle_category: DataTypes.STRING
  }, {
    sequelize,
    modelName: 'Products',
    tableName: 'products', /////////// 추가된 부분
    timestamps: true, /////////// 추가된 부분
  });
  return Products;
};
서버 접속 시 위와 같은 오류가 발생한다면 기존 테이블을 삭제한 후 models/products.js 코드를 위와같이 수정해보세요.
INSERT INTO products (id, name, link, src, major_category, middle_category, createdAt, updatedAt)
VALUES
  (1, 'Product 1', 'http://example.com/1', 'source1', 'Electronics', 'Smartphones', NOW(), NOW()),
  (2, 'Product 2', 'http://example.com/2', 'source2', 'Home Appliances', 'Vacuum Cleaners', NOW(), NOW()),
  (3, 'Product 3', 'http://example.com/3', 'source3', 'Fashion', 'Shoes', NOW(), NOW()),
  (4, 'Product 4', 'http://example.com/4', 'source4', 'Beauty', 'Makeup', NOW(), NOW()),
  (5, 'Product 5', 'http://example.com/5', 'source5', 'Sports', 'Fitness', NOW(), NOW());
추가로 어트리뷰트가 추가되었기 때문에 더미 데이터 삽입 시에도 SQL문을 수정하여야합니다.